
A Wonderful Illusion
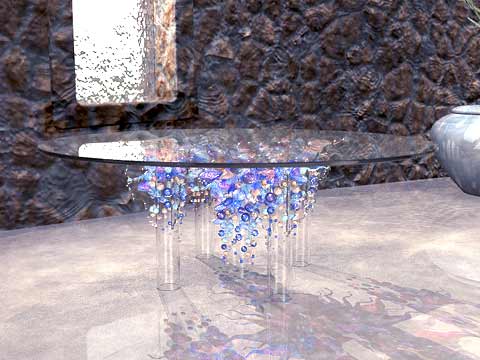
A click on the images loads a close-up.
The supporting structure design employs four independent acrylic tube columns surrounded at their tops by the blown glass orbs and spirals. They work in concert with each other to support the glass top. They are unobtrusive and are beautiful in their own right.
A fifth acrylic tube is at the center. It supports the majority of the glass structures in a configuration that echoes the original single center support design, while the four outer tubes support the glass top. This moves the majority of the longer and more delicate elements away from feet and knees to the center of the base, restoring the center-weighted aspect of the original design. The addition of this fifth tube did not impact our production time.
The blown glass elements are congregated at the top of each, largest elements at the top—transitioning to smaller sized elements toward the bottom; with increasing space between them as the floor is approached. This increase in space, combined with the lessening of size—on a virtually clear support—has the effect of the table seeming to float above the floor; supported by the colored glass forms beneath, evidently emitting some unseen force that keeps it levitated.
Each column is fitted at the top with four nearly invisible acrylic webs, or brackets, that blend in with the blown glass. Being transparent, you see the blown glass on the opposite side and the webs and tubes themselves tend to disappear because you focus through them. The webs contact the under side of the plate glass top; maintaining vertical orientation of the column in respect to the top itself and the floor upon which they stand. The mass of the glass plate becomes an asset.
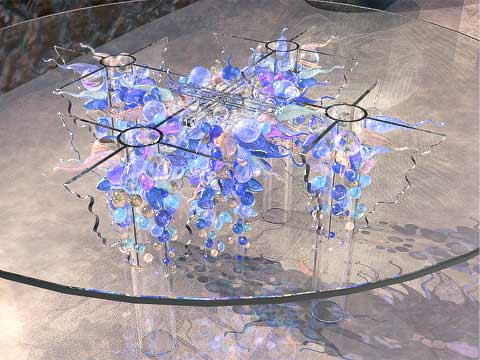
Seen from a distance, there will appear to be nothing holding your dining room table in the air.
This is not the only design that we have considered. Each may have its good and bad points but operations once the components have been delivered on-site—such as the final assembly process—factor into the equation and influence the overall decision.
As with any developmental project, adjustments in the design are a natural part of the process. There are no cookbooks or manuals to consult and follow. You just keep pressing on. The acrylic construction is an added expense for us but we feel that this is a much better solution to a vexing problem that has been plaguing the project from the start.
We are delighted that you support our approach.
Production Shots
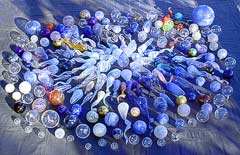
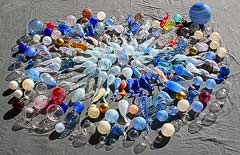
We assembled the blown glass structures completed to-date and shot two versions. The first is front lit, then we waited overnight and caught the assembly in the morning sun, so that you can see the reflective and transmissive qualities of each glass design. This is approximately one half to perhaps two thirds of the orbs required to populate the base. Three more color combinations are in work. These are more in the richer, deeper blue ranges seen in larger elongated orbs at center-right foreground, just behind the gold sphere. We've also added some purples and violets.
There's a lot of really cool glass here!
Click either image for enlargements and more.
Thirteen of the sixteen column sides have completed the pre-assembly epoxy stage. Prior to adpoting this two-stage method, we analyzed the assembly processes that will be required and inevitably arrived at the conclusion that trying to ship everything individually and assemble it all there was just not going to work. It would be safer in shipping, but the time involved away from the studio would be prohibitive. Somehow, we had to find another solution.
A hybrid process was the eventual answer. Assemble the sturdier and smaller components (greater than half are in this class) to the columns and carefully pack them once the epoxy has cured enough to withstand pressure and small accelerations from dropping, etc. Then assemble the longer, more delicate elements once on-site. Difficult, but it's the only way to go; unless we had the luxury of being able to stay for four+ weeks waiting for these many separate compound batches to "go off" to the point that a column can be moved to the next position for the next batch.
We're having to think into the future to build this foundation, without being able to complete it. The final shape must be imagined and then work backwards, determining which underlying elements go where to support spirals and bullets that aren't there and not lose track. You'll see some numbers on some of the outer orbs near the top. This is our method of keeping it all straight.
It turns out, in an unexpected way, that it was a good thing that we went this route. Attempts to accelerate the curing were not as significantly successful as we had hoped they might be. Had we gone with the original plan of assembling all at the same time on-site, we'd have been stuck—and not with epoxy. There are only so many orbs that can be placed and strapped into position at one time, and then only on one side of a column at a time. Once placed, even though it would seem that you could move to the next set, you just have to leave it alone or the results are, shall we say, less than desirable. If you don't strap them down pretty solidly, they ever so slowly but steadily move out of position. Come back hours later and they ve migrated father than you'd ever imagine possible; sometimes with detrimental consequences. It takes constant monitoring.
There are only two epoxies that successfully adhere to glass. The other one that we use takes ten days to cure, not five to seven, even with incubating prior to assembly. As you can see from the shots below, some of the contact patches are relatively small. A good epoxy is imperative—and expensive. Off the shelf stuff won't cut it.
A couple of days ago, just before this latest winter storm hit (and dropped some snow!—something we don't get often) we transported the four columns outside for a test fit and group shot in the configuration that they will be at final assembly. This is the first time that we have seen them like this. They've been on tables, benches and floors in any orientation but upright.
As before, each of these images leads to an enlargement.
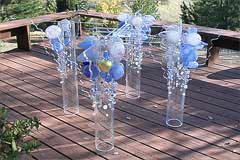
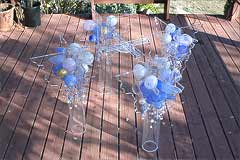
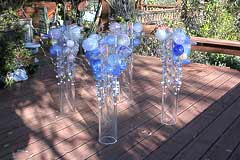
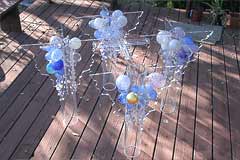
As outlined previously, we cannot attach any of the spirals prior to shipping, so they are absent from these shots. The center column (seen in the bottom two shots) was in a non-transportable state, so it is absent as well. With those elements missing, the columns don't have all the dynamism that they will. When the spirals are in place, it's just right.
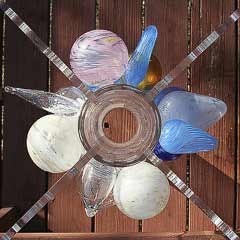
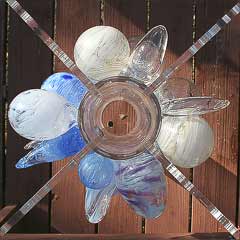
Looking straight down on two of the completed column pre-assemblies.
We are fairly confident that these assemblies, having only stronger & lower aspect ratio shapes, will be able to be successfully packed and arrive safely. The glass is pretty tough, but we'll be taking every precaution.
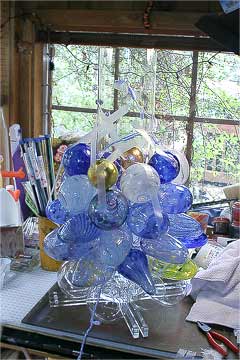
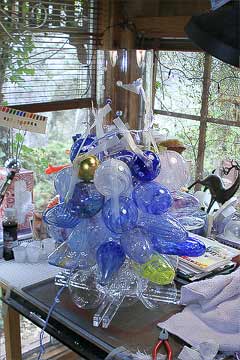
Above, the center column is on Joy's drawing table in the Cold-Working shop. In these shots it is a bit hard to pick out the acrylic column at the center that is supporting the glass. It is seen here inverted; resting on its top upon the cross brace that connects the four column structures. When fully assembled, the overall dimension of the upper section (closest to the cross brace) will be nearly twice this diameter.
Upon this cross brace will be an element that we blew in the Hot Shop only a couple of days ago. It's a small swirled, freeform, asymetric dish that rises from the top of the cross brace to just under the table top as a nice centerpiece. It's really cool. I'll add a shot of it when Joy has finished with the grinding and polishing.
It's all coming together quite nicely.
When the pre-assembled components ship and we arrive, it'll be another learning curve, figuring out what the epoxy wants during that phase and how fast we can go, but we'll deal with it—as always.
All the Best,
BJ & Joy


